Edit calendar entries
1
In the Day view, scroll to the entry and press
to open it.
2
Edit the entry fields and press
Done
.

[ 111 ]
Calendar and To-do
•
If you are editing a repeated entry, choose how you want the changes
to take effect:
All occurrences
—all repeated entries are changed /
This
entry only
—only the current entry will be changed.
Delete calendar entries
•
In the Day view, scroll to the entry you want to delete and select
Options
→
Delete
or press
. Press
OK
to confirm.
•
If you are deleting a repeated entry, choose how you want the change
to take effect:
All occurrences
—all repeated entries are deleted /
This
entry only
—only the current entry will be deleted.
Example: Your weekly class has been cancelled. You have set the calendar
to remind you every week. Choose
This entry only
and the calendar will
remind you again next week.
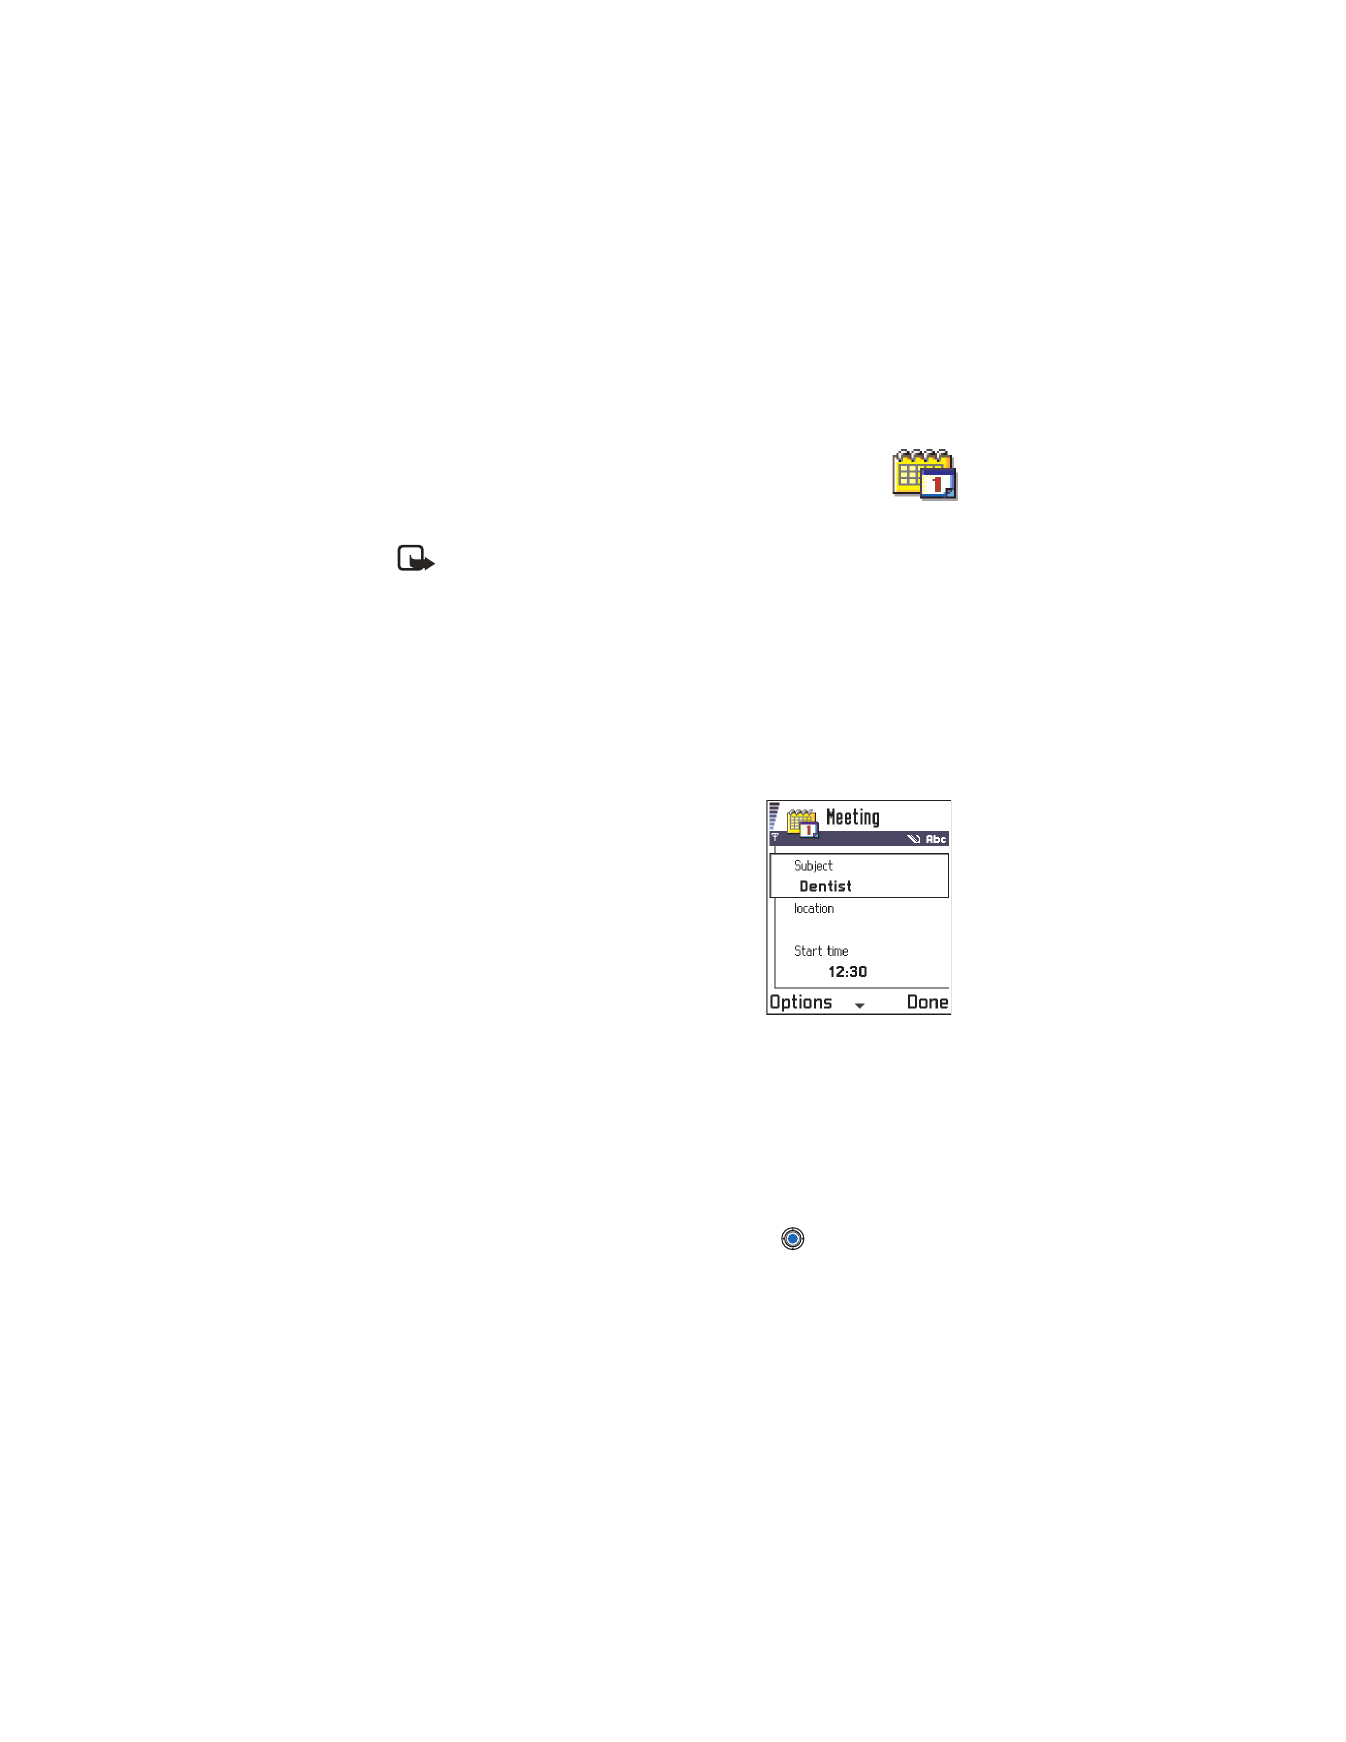
Calendar entry fields
•
Subject
/
Occasion
—Write a description of the event.
•
Location
—The place of a meeting, optional.
•
Start time
,
End time
,
Start date
, and
End date
.
•
Alarm
—Press
to activate the fields for
Alarm time
and
Alarm date
.
•
Repeat
—Press
to change the entry to be repeating. Shown with
in the Day view.
Example: The repeat function is handy if you have a recurring event, a
weekly class, a biweekly meeting, or a daily routine you need to remember.
•
Repeat until—You can set an ending date for the repeated entry, for
example, the ending date of a weekly course you are taking. This option
is shown only if you have selected to repeat the event.
•
Synchronization—If you select Private, after synchronization the
calendar entry can be seen only by you and it will not be shown to
others with online access to view the calendar. This is useful when, for
example, you synchronize your calendar on a compatible computer at
work. If you select Public, the calendar entry is shown to others who
have access to view your calendar online. If you select None, the
calendar entry will not be copied to your PC when you synchronize
your calendar.

[ 112 ]
Calendar views
MONTH VIEW
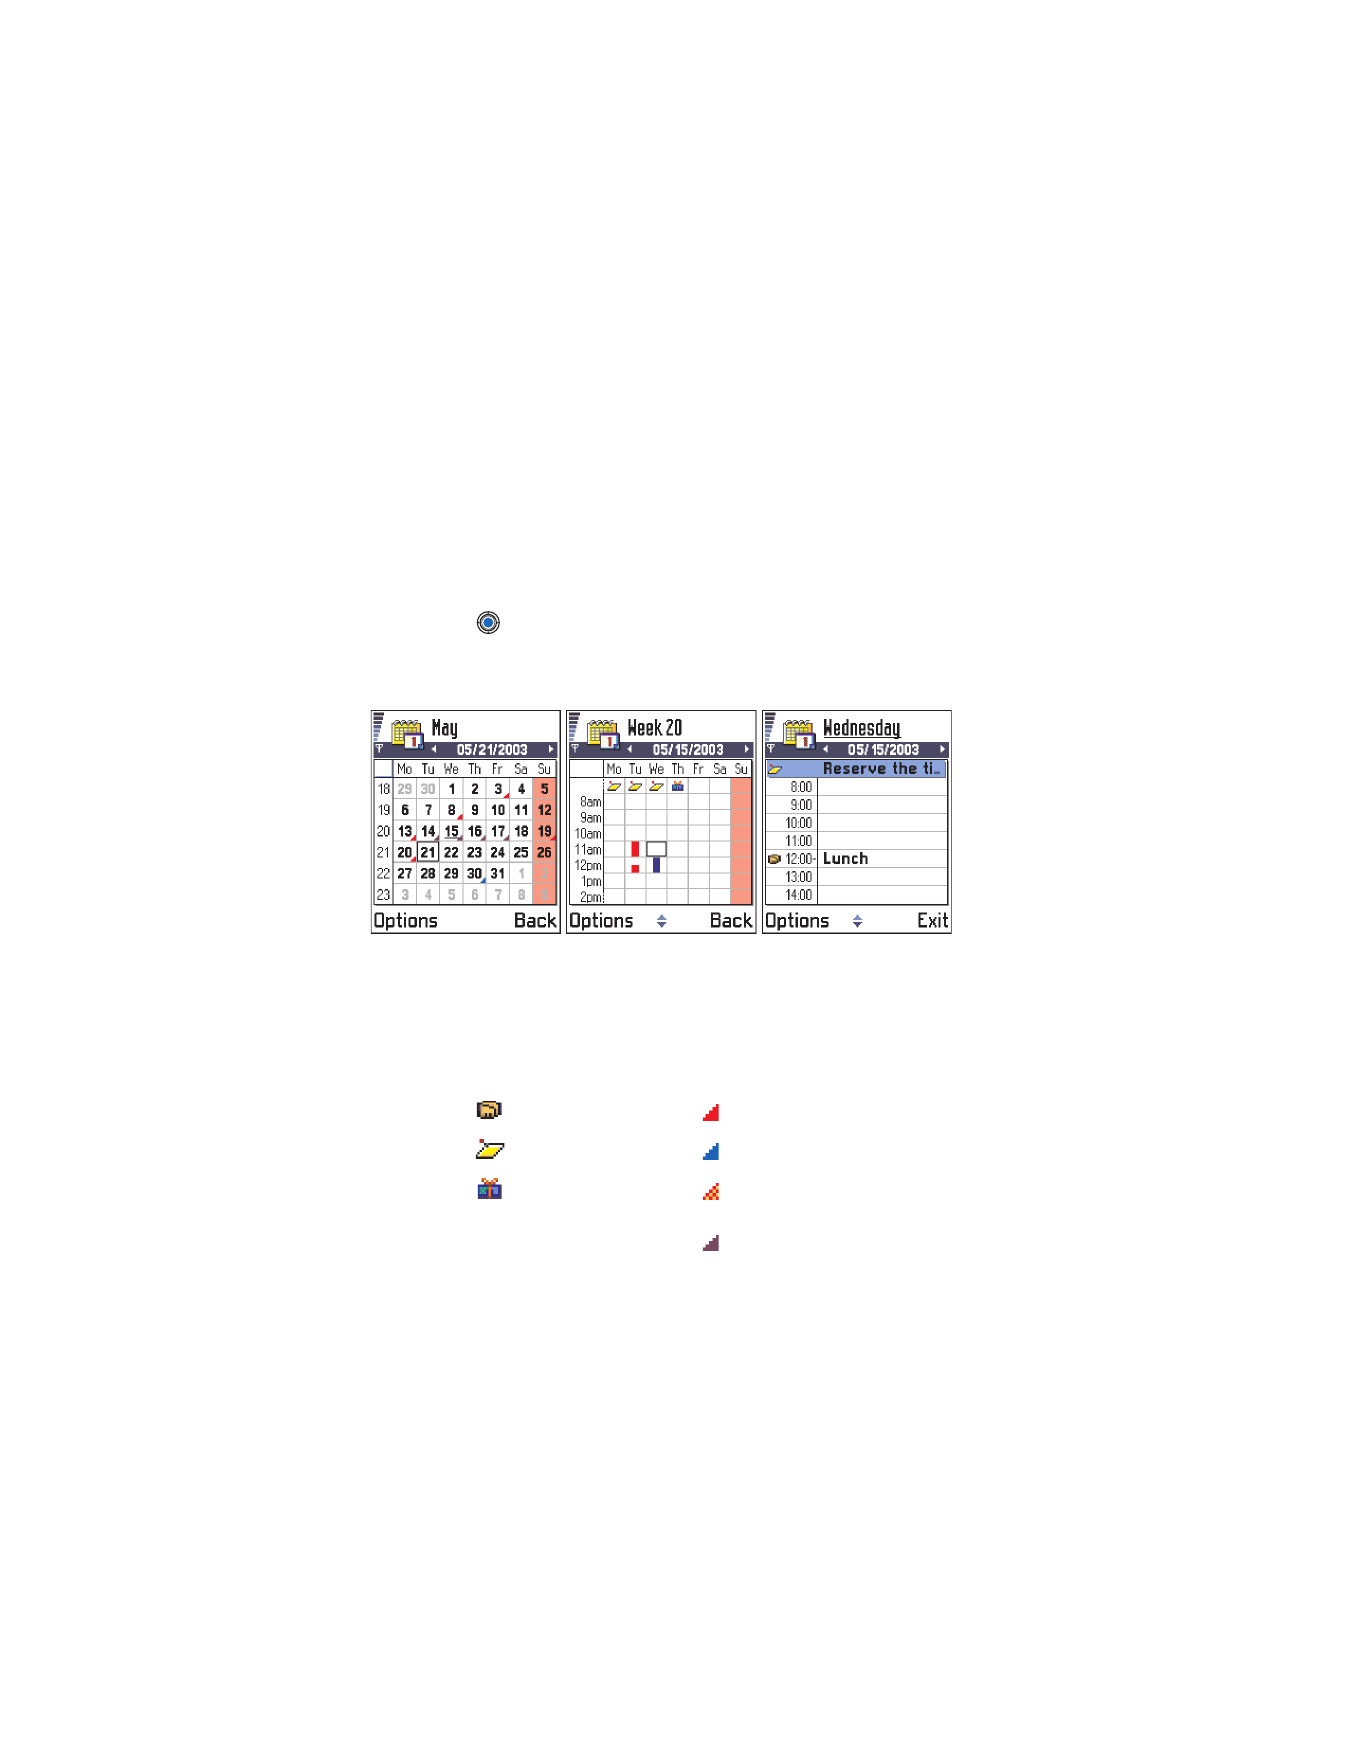
In the Month view, one row equals one week. The current date is underlined.
Dates that have calendar entries are marked with a small triangle at the
right bottom corner. There is a frame around the currently selected date.
•
To open the Day view, scroll to the date you want to open and
press
.
•
To go to a certain date, select
Options
→
Go to date
. Write the date
and press
OK
.
If you press the # key in Month, Week, or Day views, the current date is
automatically highlighted.
Calendar entry icons
in Day and Week views
Synchronization icons
in Month view
Meeting
Private
Memo
Public
Anniversary
None
The day has more
than one view

[ 113 ]
Calendar and To-do
WEEK VIEW
In the Week view, the calendar entries for the selected week are shown in
seven day boxes. The current day of the week is underlined. Memos and
Anniversaries are placed before 8 AM. Meeting entries are marked with
colored bars according to starting and ending times.
To view or edit an entry, scroll to the cell that has an entry and press
to open the Day view, then scroll to the entry and press
to open it.
Options in the different calendar views are:
Open
,
New entry
,
Week view
/
Month view
,
Delete
,
Go to date
,
Send
,
Settings
,
Help
, and
Exit
.
DAY VIEW
In the Day view, you can see the calendar entries for the selected day.
The entries are grouped according to their starting time. Memos and
Anniversaries are placed before 8 AM.
•
To open an entry for editing, scroll to it and press
.
•
Press
to go to the next day or press
to go to the previous day.
SETTINGS FOR CALENDAR VIEWS
Select
Options
→
Settings
and select:
•
Default view
—To select the view that is shown first when you
open Calendar.
•
Week starts on
—To change the starting day of the week.
•
Week view title
—To change the title of the Week view to be the week
number or the week dates.
Shortcut: To create a calendar entry, press any key
(
1
–
0
)